¡Consigue esta oferta! Llama ahora.
Hable con un especialista en planes de protección de vehículos y obtenga $300 apagado cualquier nuevo contrato al instante.
Llamar 866-678-4172
o escanea el código a continuación

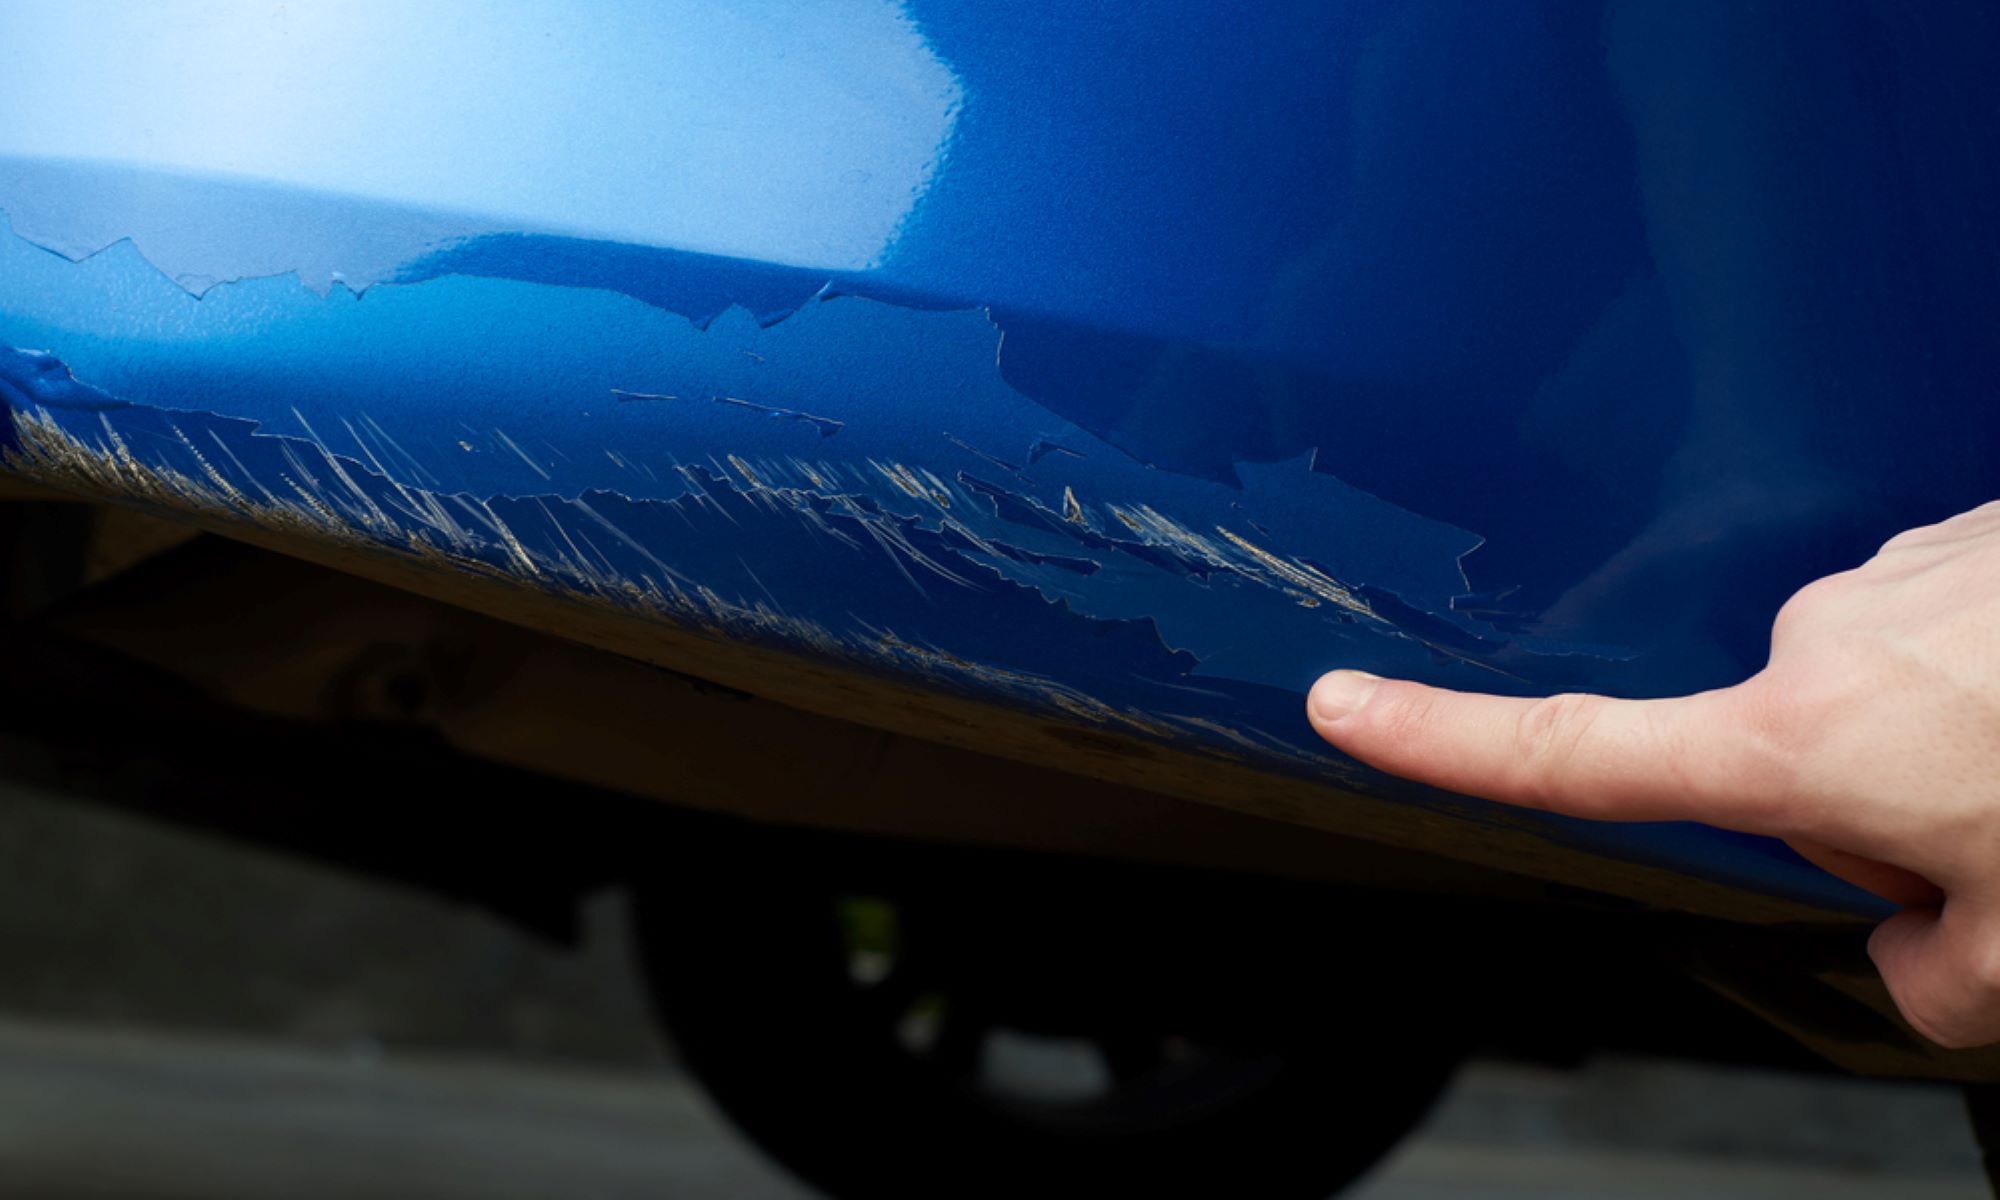
Imagínese esto: acaba de dedicar minutos a perfeccionar su estacionamiento en paralelo para estar lo suficientemente cerca de la acera y tener la distancia justa de los autos que están delante y detrás de usted. Sale, hace sus recados y regresa a su auto. Los autos que estaban delante y detrás de usted se han ido, lo que le da suficiente espacio para dejar el lugar. Desafortunadamente, al inspección más cercana, Parece que los otros coches han dejado algo: sus parachoques han sido rayados, dañados, abollados. Para un defecto estético tan pequeño, repararlo resulta tan costoso como reparar por completo algo de su coche.
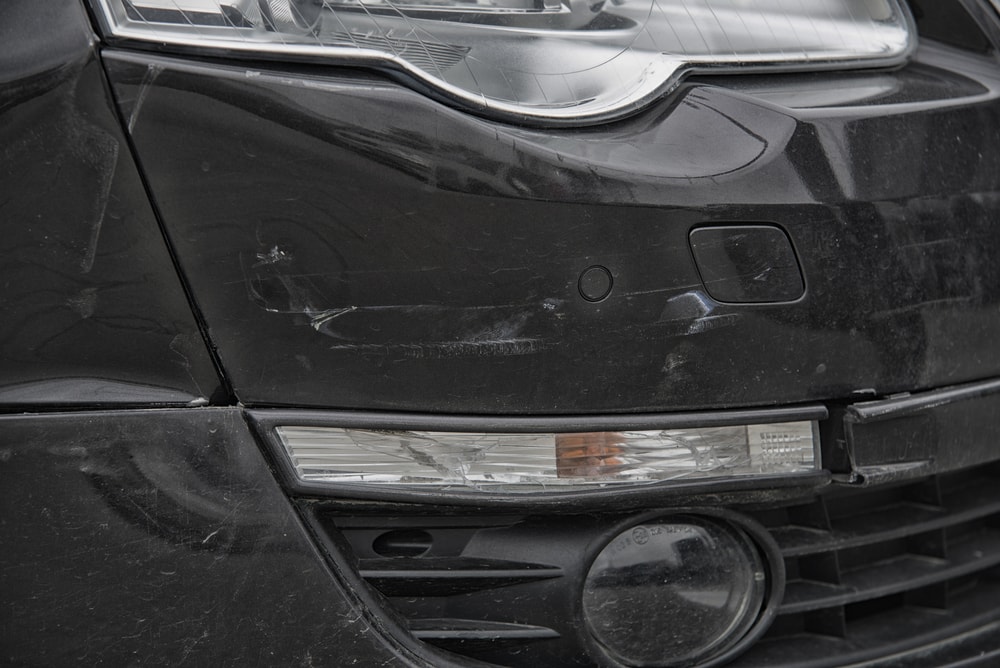
Hay formas de ahorrar un poco y una forma de realizar una solución no tan rápida como un proyecto de bricolaje.
Así que sí, arreglar los parachoques dañados implica un poco de esfuerzo en cuanto a lijado, pulido, esculpido y pintura. Pero si conoce esos pasos, podrá ahorrar dinero.
¿Quieres ahorrar MILES en reparaciones de autos? ¡Obtén Endurance!
COTIZACIÓN ONLINE GRATUITA
Demasiados propietarios de vehículos terminan yendo a la tienda de repuestos de automóviles local para comprar masilla para carrocería realmente barata y una lata de lo que creen que es pintura en aerosol del mismo color. Esta es una mala idea.
Con el paso de los años, la fabricación de piezas de carrocería de automóviles ha cambiado y, por lo tanto, usted, el propietario del vehículo, deberá adaptarse. Es necesario reunir un conjunto completamente nuevo de suministros para reparar piezas de plástico o fibra de carbono pintadas, en lugar del metal que solía usarse para fabricar parachoques.
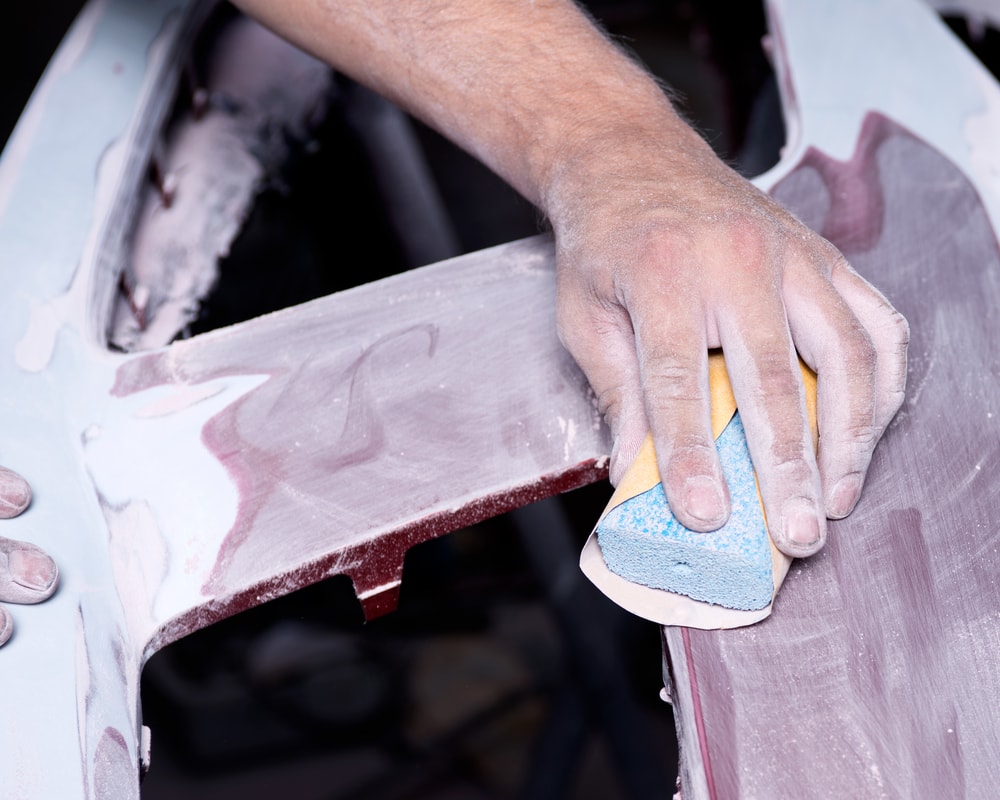
Hay muchas empresas especializadas en accesorios para reparar arañazos y parachoques que puedes hacer tú mismo. Lo que necesitas es lo siguiente (como mínimo):
¿Quieres ahorrar MILES en reparaciones de autos? ¡Obtén Endurance!
COTIZACIÓN ONLINE GRATUITA
Lo que es interesante destacar es el hecho de que cuando se habla de parachoques, en realidad no se está hablando de la parte del coche que protege el chasis delantero y trasero. La parte del parachoques delantero o trasero es lo que se esconde debajo de ese plástico o chapa metálica que es propenso a sufrir mellas y arañazos. El problema es que la cubierta de plástico se diseñó con el propósito expreso de deformarse en caso de impacto.
Bien, entonces primero debes quitar ese panel/cubierta.
En la mayoría de los autos modernos hay tornillos detrás de las tapas de metal cerca del pestillo del baúl, así como tornillos debajo de las luces y en los huecos de las ruedas. Después de quitarlos, pudimos deslizar las pestañas del parachoques por una serie de ranuras en los paneles traseros. Busque tornillos o pernos debajo de la alfombra del baúl, entre la rueda y el parachoques trasero.
Una vez que se apaga, es algo a lo que Popular Mechanics llama el “Lifting facial de fascia”.
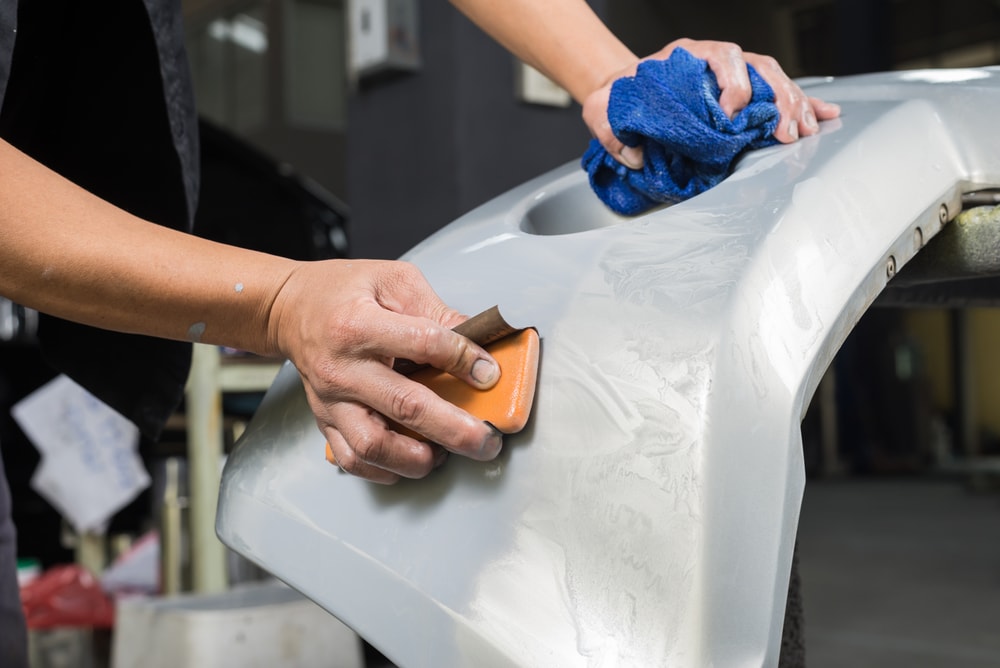
Trabaje en un lugar cálido y seco. Tenga en cuenta que no hay dos parachoques iguales. Revise la etiqueta interior para identificar el tipo de plástico.
Los materiales mencionados anteriormente tienden a mancharse al lijarse con máquina o con el molinillo.
Ahora que ya nos hemos despejado de eso, es hora de elegir el relleno. Los distintos rellenos reaccionan a distintos materiales y, la mayoría de las veces, se etiquetarán como tales. Como ocurre con la mayoría de los vehículos, la compatibilidad es importante.
¿Quieres ahorrar MILES en reparaciones de autos? ¡Obtén Endurance!
COTIZACIÓN ONLINE GRATUITA
Bueno, dejando eso fuera del camino…
No importa qué plástico sea su “fascia” o qué relleno utilice, los pasos siguen siendo los mismos:
Una vez que el material se haya endurecido, mire hacia el frente de la fascia y retire la cinta. Con papel de lija de grano 80, lije el exceso de material que se haya colado. Después de rellenar el corte o rasgadura y los puntos bajos en el frente de la fascia con el material de reparación adecuado, asegúrese de pasar una escobilla de goma.
Cuando todo esté listo, aplique una capa fina de material reparador para las picaduras y las imperfecciones de la superficie. Esto restaurará el contorno original antes de terminar de lijar con papel de lija húmedo de grano 400.
Probablemente se necesitarán dos capas para restaurar el contorno correctamente.
¿Quieres ahorrar MILES en reparaciones de autos? ¡Obtén Endurance!
COTIZACIÓN ONLINE GRATUITA
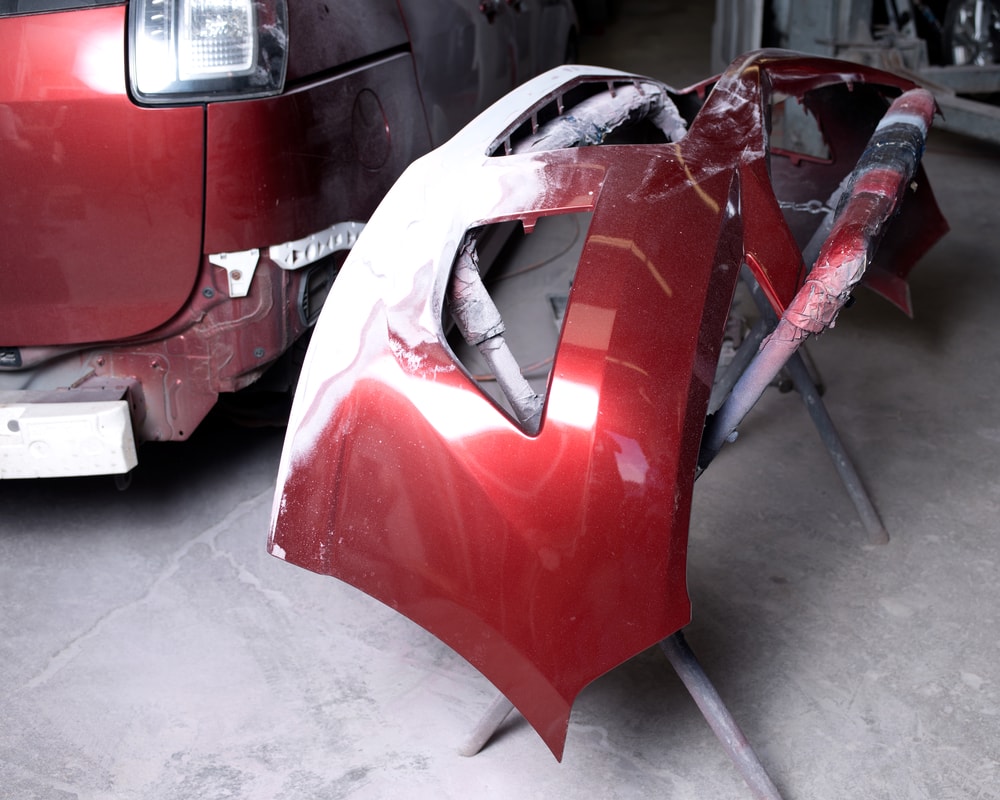
¡Felicitaciones, has reparado tu “parachoques”! Date una palmadita en la espalda.
Ahora viene la parte difícil: pintar.
Finalmente, rociarás el parachoques con una capa base. Ten en cuenta que primero debes lijarlo en húmedo y luego limpiar el área con un trapo antipolvo en caso de que haya residuos o polvo.
¿Quieres ahorrar MILES en reparaciones de autos? ¡Obtén Endurance!
COTIZACIÓN ONLINE GRATUITA
AHORA puedes rociar la pintura según las instrucciones del fabricante. Repite el proceso hasta que la pintura esté completamente cubierta y de manera uniforme. Una vez que la base esté seca, mezcla la capa transparente con un endurecedor antes de aplicar dos capas transparentes medianas, dejando que cada una se seque por sí sola.
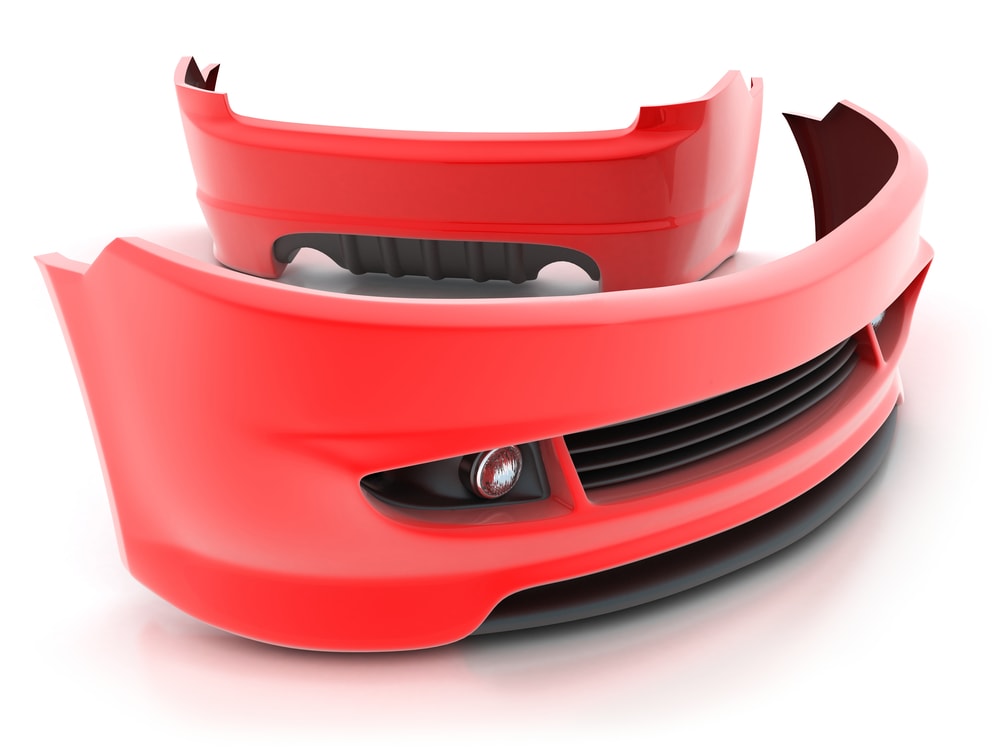
Y ya está. Ya está. Déjalo reposar durante la noche antes de volver a instalarlo y luego usa una pulidora para eliminar las imperfecciones.

Estamos aquí para asegurarnos de que obtenga la protección EV más completa. Por eso nos hemos asociado con Xcelerate automático para ofrecerle una cobertura Tesla transparente y confiable.
¿Quiere que nos comuniquemos con usted acerca de la cobertura XCare para su Tesla?


¡Llama y obtén un descuento de $300 en cualquier plan nuevo!
Al hacer clic en el botón, acepta que Endurance utilice tecnología automatizada para llamarlo, enviarle un correo electrónico y enviarle mensajes de texto utilizando la información de contacto anterior, incluido su número de teléfono móvil, si se proporciona, con respecto a la protección del automóvil o, en California, el seguro contra averías mecánicas. También acepta el Endurance política de privacidad y Términos y condiciones. El consentimiento no es una condición de compra y puede retirar el consentimiento en cualquier momento. Se pueden aplicar tarifas por mensajes y datos.
Hable con un especialista en planes de protección de vehículos y obtenga $300 apagado cualquier nuevo contrato al instante.
Llamar 866-678-4172
o escanea el código a continuación



Simplemente complete la información a continuación y le daremos seguimiento rápidamente con su cotización gratuita y sin compromiso.
Al hacer clic en el botón, acepta que Endurance utilice tecnología automatizada para llamarlo, enviarle un correo electrónico y enviarle mensajes de texto utilizando la información de contacto anterior, incluido su número de teléfono móvil, si se proporciona, con respecto a la protección del automóvil o, en California, el seguro contra averías mecánicas. También acepta el Endurance política de privacidad y Términos y condiciones. El consentimiento no es una condición de compra y puede retirar el consentimiento en cualquier momento. Se pueden aplicar tarifas por mensajes y datos.

Para hablar con un especialista en planes de protección de vehículos y guardar $300
Escanee el código a continuación
Alex ha trabajado en la industria de servicios automotrices durante más de 20 años. Luego de graduarse de una de las mejores escuelas técnicas del país, se desempeñó como técnico logrando la certificación de Maestro Técnico. También tiene experiencia como asesor de servicios y gerente de servicios. Leer más sobre alex