Get this deal! Call now.
Speak with a vehicle protection plan specialist and get $300 off any new contract instantly.
Call 866-678-4172
or scan the code below
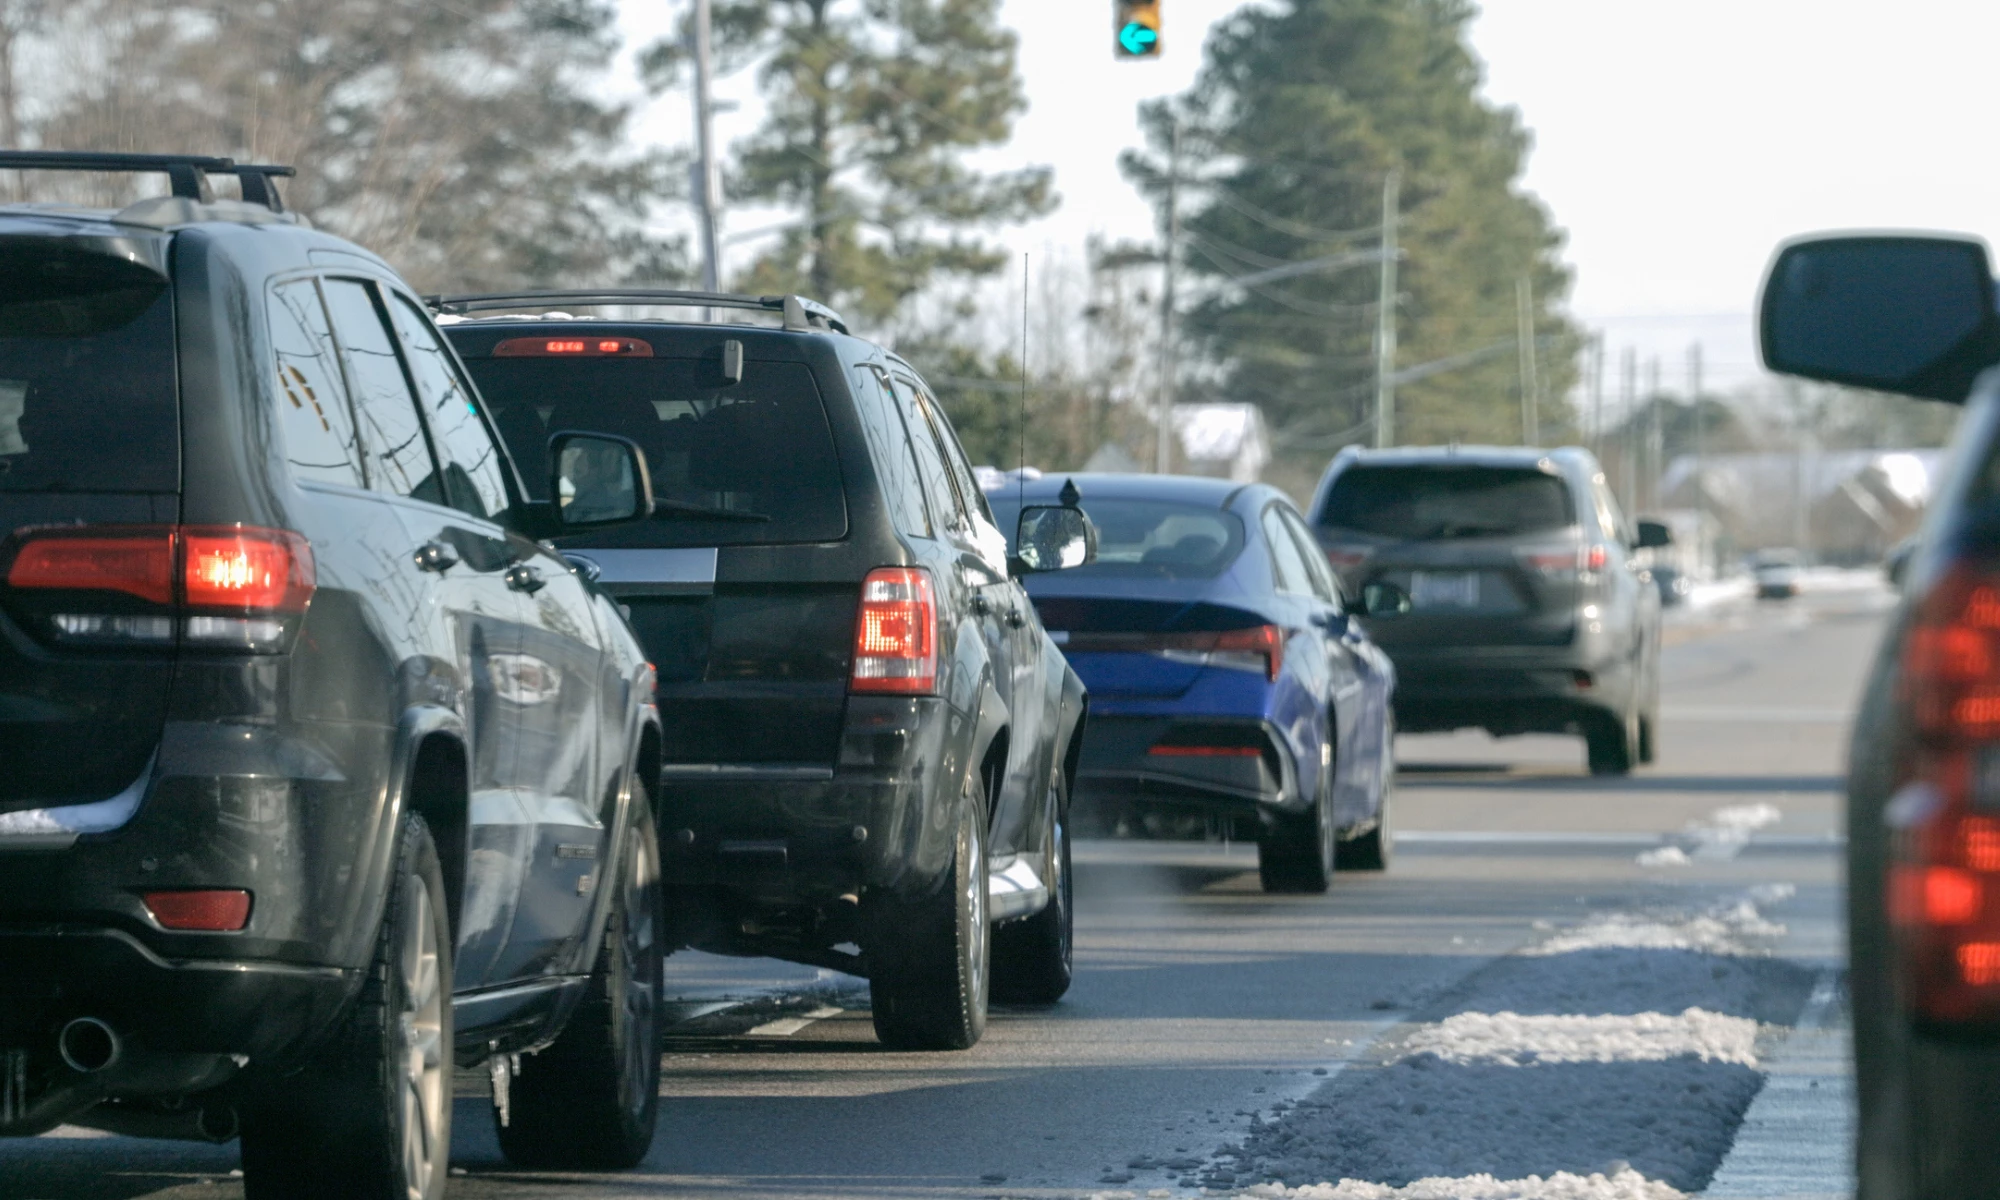
Winter is quickly approaching, and many people across the country are already beginning to bundle up and stay warm. While it’s important to prepare yourself for winter, preparing your car for the cold weather ahead is also essential.
Following your vehicle’s specific maintenance schedule is often considered the most critical step to take when it comes to protecting your vehicle. But smaller maintenance tasks like checking your engine coolant can also play a key role in keeping your engine healthy throughout the frigid fall and winter months.
To help you prepare your vehicle this winter, learn about engine coolant before winter and the steps you can take to change it on your own.
To ensure you get the most out of your vehicle, stay up-to-date on all its maintenance needs and check your coolant. Your owner’s manual contains your maintenance schedule on how often you should change your coolant, with most vehicles typically recommending every two years or 30,000 miles.
But why is coolant important? While primarily used to help keep your engine from overheating, such as in the summer months, coolant also helps in keeping your engine from freezing. It also acts as antifreeze in the winter months to help keep your engine running efficiently.
While your engine coolant contains antifreeze, these liquids are not the same thing. Antifreeze is an ethylene glycol-based liquid that does not freeze or boil easily, while engine coolant is a mixture of antifreeze and distilled water. When added to water, the ethylene glycol in antifreeze lowers the freezing temperature of your engine and raises the boiling point, allowing the liquid to circulate through the engine bay regardless of the season.
Engine coolant is typically a 50/50 split of antifreeze and distilled water, but some mixtures are made of a 70/30 antifreeze and water. To find out which one your car needs, check your owner’s manual or visit a nearby certified repair facility.
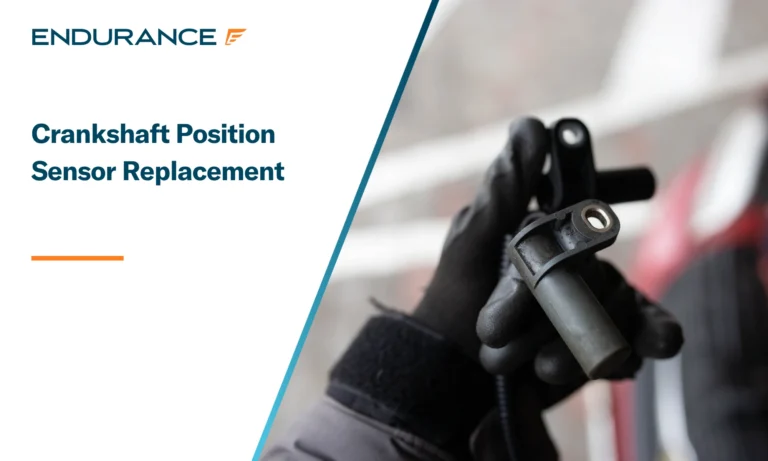
While checking and changing your coolant is essential, it is also a task you can do at home. First, make sure the engine is completely cool and put on protective eyewear and gloves. Next, identify the coolant reservoir and remove the cap to inspect the car coolant. Coolants come in red, green, blue, or yellow, so check to see your color. If you notice that your coolant looks ‘rusty’ or if it has debris floating in it, it’s best to take the car to a local repair facility or ASE Certified mechanic.
If the liquid is colorless and there’s no rusty residue, you can change your coolant on your own. However, it’s vital that you do not mix coolant or use coolant that is not recommended by your vehicle’s manufacturer as it could potentially lead to more extensive engine issues.
To change your coolant, follow these simple steps below:
Save on your car, truck, or SUV’s preventative maintenance needs this winter with a vehicle protection plan like EnduranceAdvantage™. Get comprehensive breakdown protection for your car’s most vital components and with up to $3,500 in regular maintenance coverage. That means routine services such as oil and filter changes, engine diagnostic exams, and more are all covered at no additional cost to you. EnduranceAdvantage customers also have access to even more coverage and savings with several special, one-time services, including a brake pad/shoe replacement, and cooling system maintenance.
For more information about any Endurance protection plan, call 866.918.1438 or request a free online quote. Our Learning Center can also provide you with more resources and information from our auto experts to help you keep your vehicle running for longer.
We've received your vehicle information and will contact you shortly with your quote.
— OR —
Start shopping for a coverage plan now.


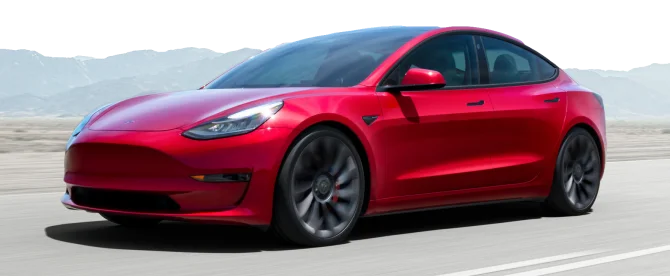
We're here to make sure you get the most comprehensive EV protection. That's why we've partnered with Xcelerate Auto to offer you transparent and dependable Tesla coverage.
Want us to contact you about XCare coverage for your Tesla?

Your protection is our top priority. Your quote is in progress and you will
receive a confirmation
email shortly.

Speak with a vehicle protection plan specialist and get $300 off any new contract instantly.
$300 off + FREE Elite Benefits for 1 year!
By clicking the button, you consent to Endurance using automated technology to call, email, and text you using the contact info above, including your wireless number, if provided, regarding auto protection or, in California, mechanical breakdown insurance. You also agree to the Endurance Privacy Policy and Terms and Conditions. Consent is not a condition of purchase, and you can withdraw consent at any time. Message and data rates may apply.
Speak with a vehicle protection plan specialist and get $300 off any new contract instantly.
Call 866-678-4172
or scan the code below

Simply fill out the information below and we will follow up fast with your free no-obligation quote.
By clicking the button, you consent to Endurance using automated technology to call, email, and text you using the contact info above, including your wireless number, if provided, regarding auto protection or, in California, mechanical breakdown insurance. You also agree to the Endurance Privacy Policy and Terms and Conditions. Consent is not a condition of purchase, and you can withdraw consent at any time. Message and data rates may apply.
To speak to a vehicle protection plan specialist and get $300 off any new contract instantly
Scan the code below


Since the age of 16, Keith has been immersed in the automotive industry, beginning his career by helping his dad fix vehicles at a young age. Keith now owns his own family-run, ASE Certified repair shop, A+ Autocare. At his shop, he focuses on building trusting relationships with his community through exceptional customer service. Read more about Keith.