Get this deal! Call now.
Speak with a vehicle protection plan specialist and get $300 off any new contract instantly.
Call 866-678-4172
or scan the code below


You don’t need to always pay top dollar to keep your car like it’s brand-spanking-new, all you need is a good wash and polish. In fact, you don’t even need the most expensive and advanced tools on the planet to help you because it’s all in the technique. And that technique is known as “wheeling.” But before you start run and Google “What is wheeling your car,” don’t worry, we’ll teach you and give you a comprehensive guide on the proper way to polish your vehicle.
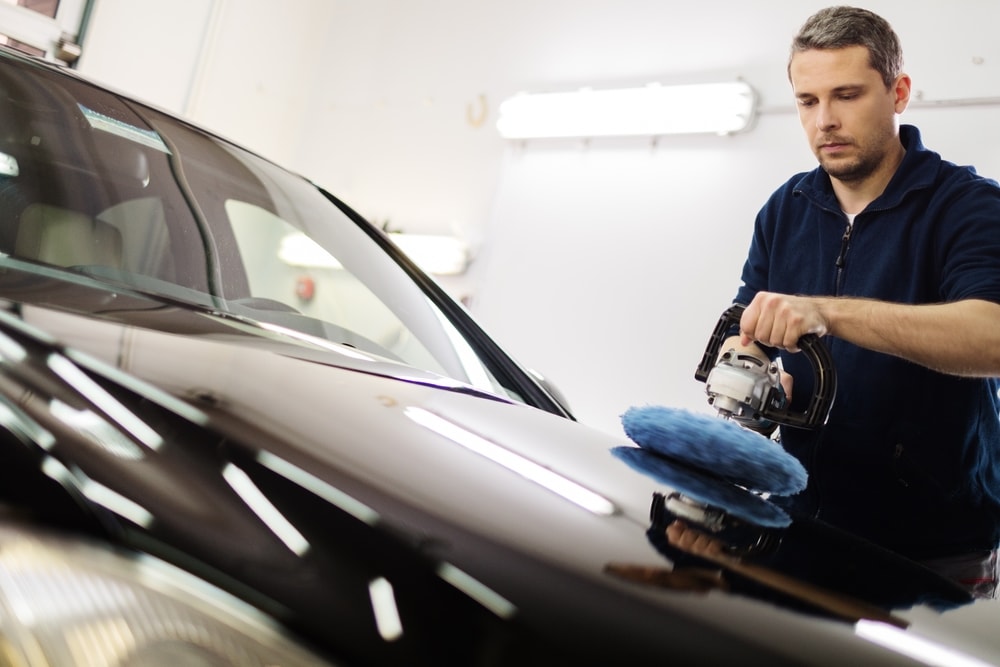
Wheeling is the common term that refers to polishing a vehicle either with a rotating wheel of some kind but also when you do so by hand in a rapid circular motion. Think the “wax on/wax off” method from that old movie The Karate Kid only you’re not secretly learning martial arts but rather how to actually polish your car. The way this works is via the circular motions actually creating a kind of heat and friction on the clear coat of your car (the wax) and that thin, almost invisible layer softens and spreads until is dissipates, no longer visible. It has actually been spread across the little tiny nooks and crannies of your car’s surface without causing major blemishes to the paint itself.
Today on ShopTalk, we are going to actually teach you how to actually polish your car the right way. Keep in mind that you should only limit the “wheeling” method to only a couple of months out of the year to maintain that professional shine and not damage the surface of your car.
You can hand wash your car, and if you don’t know how to do that we have an article for you right here (link). Follow all of those steps up to rinsing your vehicle. Be sure to rinse but do not, and we cannot emphasize this enough, do not dry your car yet. Rinse the vehicle thoroughly but do not dry it.

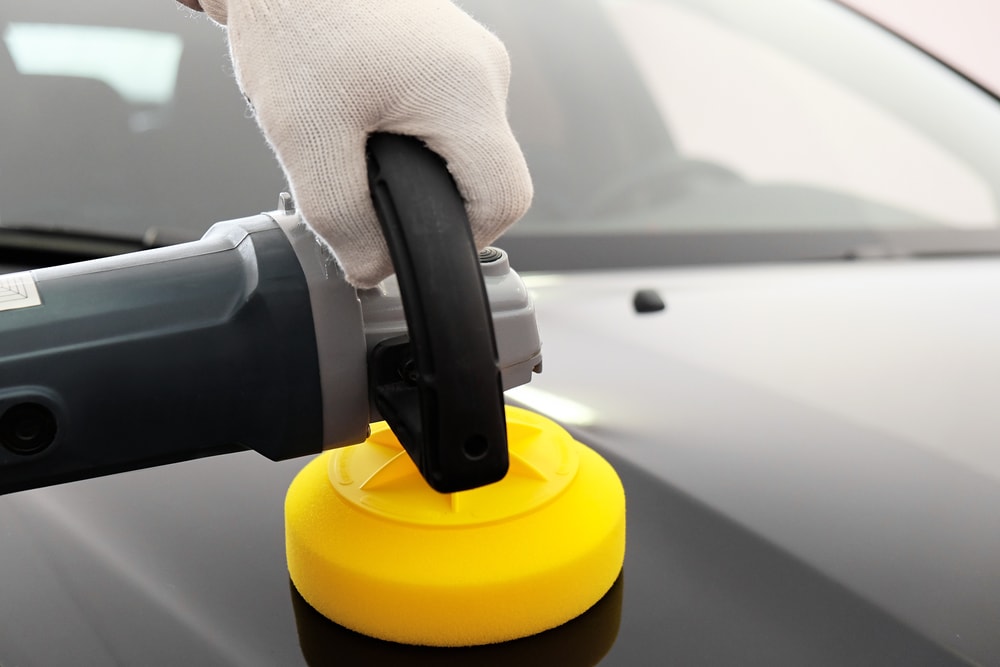
Even if it’s possible to hand-polish without a tool, don’t bother with a cleaning rag to do it. There’s a reason why they sell manual pads instead. The rule of thumb for waxing with a proper pad is that the softer pads are for darker cars, thicker pads are for lighter cars. Anyway, regardless of what you have on hand, the thing you need to do is take a clean and damp pad with just a modest amount of the waxing/polishing compound of your choice on it. Spread the polish around the panel that you’re working on at medium speed.
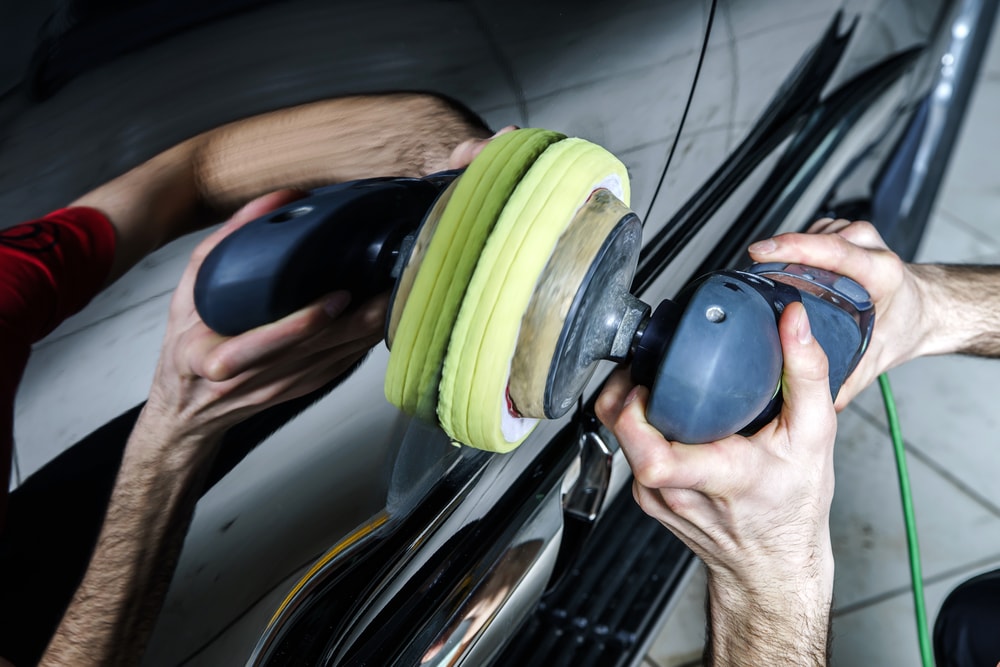
Whether you’re doing this by hand or with a tool you need to keep your pad exactly flat/parallel to the car’s surface to prevent swirly marks. Make your way across the car’s panels until you can’t see the compound anymore. Repeat to every panel using just enough compounds for each area. Before moving on from panel to panel, you should make sure that the foam pad is clean enough to not be gunky and saturated with too much polishing compound.
This is pretty self explanatory. However you would be surprised at how many people who wash and wax their own cars skip this. Keep in mind that you’re not going to wash this has “hard” as you did pre-polish, but this is more to remove any excess compound that hasn’t settled to where it is supposed to be. If you go overboard with this 2nd wash it defeats the purpose. However this clears up your car for its final coat of wax.
Now you may be thin king that applying a coat of wax seems unnecessary given how the polishing compound works. Think of the car wax as the automobile equivalent of hairspray: it holds everything together. A light coating of car wax manages to clear out any swirl marks and finishes off any surface imperfections. It is best to mix your wax at 60% wax and 40% polishing compound. And again, use the wheeling method to work it all onto the car’s surfaces but at a much lighter pressure. Leave enough of this wax so that your car looks a bit hazy. When it dries, that haze will be gone.

The Final Details
As the wax starts drying off this is the time to clean off all the other areas of your car, from windows to mirrors and even the interior. When your car is all dried off, use a microfiber cloth (remember that rags or towels will undo your hard work) to give your car a final once-over.
When you’re done, hopefully you’re now in a well lit area to look at your results. If you’re satisfied, park your car where it is supposed to be and sit back to relax. You’ve earned it.

We're here to make sure you get the most comprehensive EV protection. That's why we've partnered with Xcelerate Auto to offer you transparent and dependable Tesla coverage.
Want us to contact you about XCare coverage for your Tesla?


Call for $300 off any new plan!
By clicking the button, you consent to Endurance using automated technology to call, email, and text you using the contact info above, including your wireless number, if provided, regarding auto protection or, in California, mechanical breakdown insurance. You also agree to the Endurance Privacy Policy and Terms and Conditions. Consent is not a condition of purchase, and you can withdraw consent at any time. Message and data rates may apply.
Speak with a vehicle protection plan specialist and get $300 off any new contract instantly.
Call 866-678-4172
or scan the code below


Simply fill out the information below and we will follow up fast with your free no-obligation quote.
By clicking the button, you consent to Endurance using automated technology to call, email, and text you using the contact info above, including your wireless number, if provided, regarding auto protection or, in California, mechanical breakdown insurance. You also agree to the Endurance Privacy Policy and Terms and Conditions. Consent is not a condition of purchase, and you can withdraw consent at any time. Message and data rates may apply.

To speak to a vehicle protection plan specialist and save $300
Scan the code below
Alex has worked in the automotive service industry for over 20 years. After graduating from one of the country’s top technical schools, he worked as a technician achieving a Master Technician certification. He also has experience as a service advisor and service manager. Read more about Alex.