Get this deal! Call now.
Speak with a vehicle protection plan specialist and get $300 off any new contract instantly.
Call 866-678-4172
or scan the code below
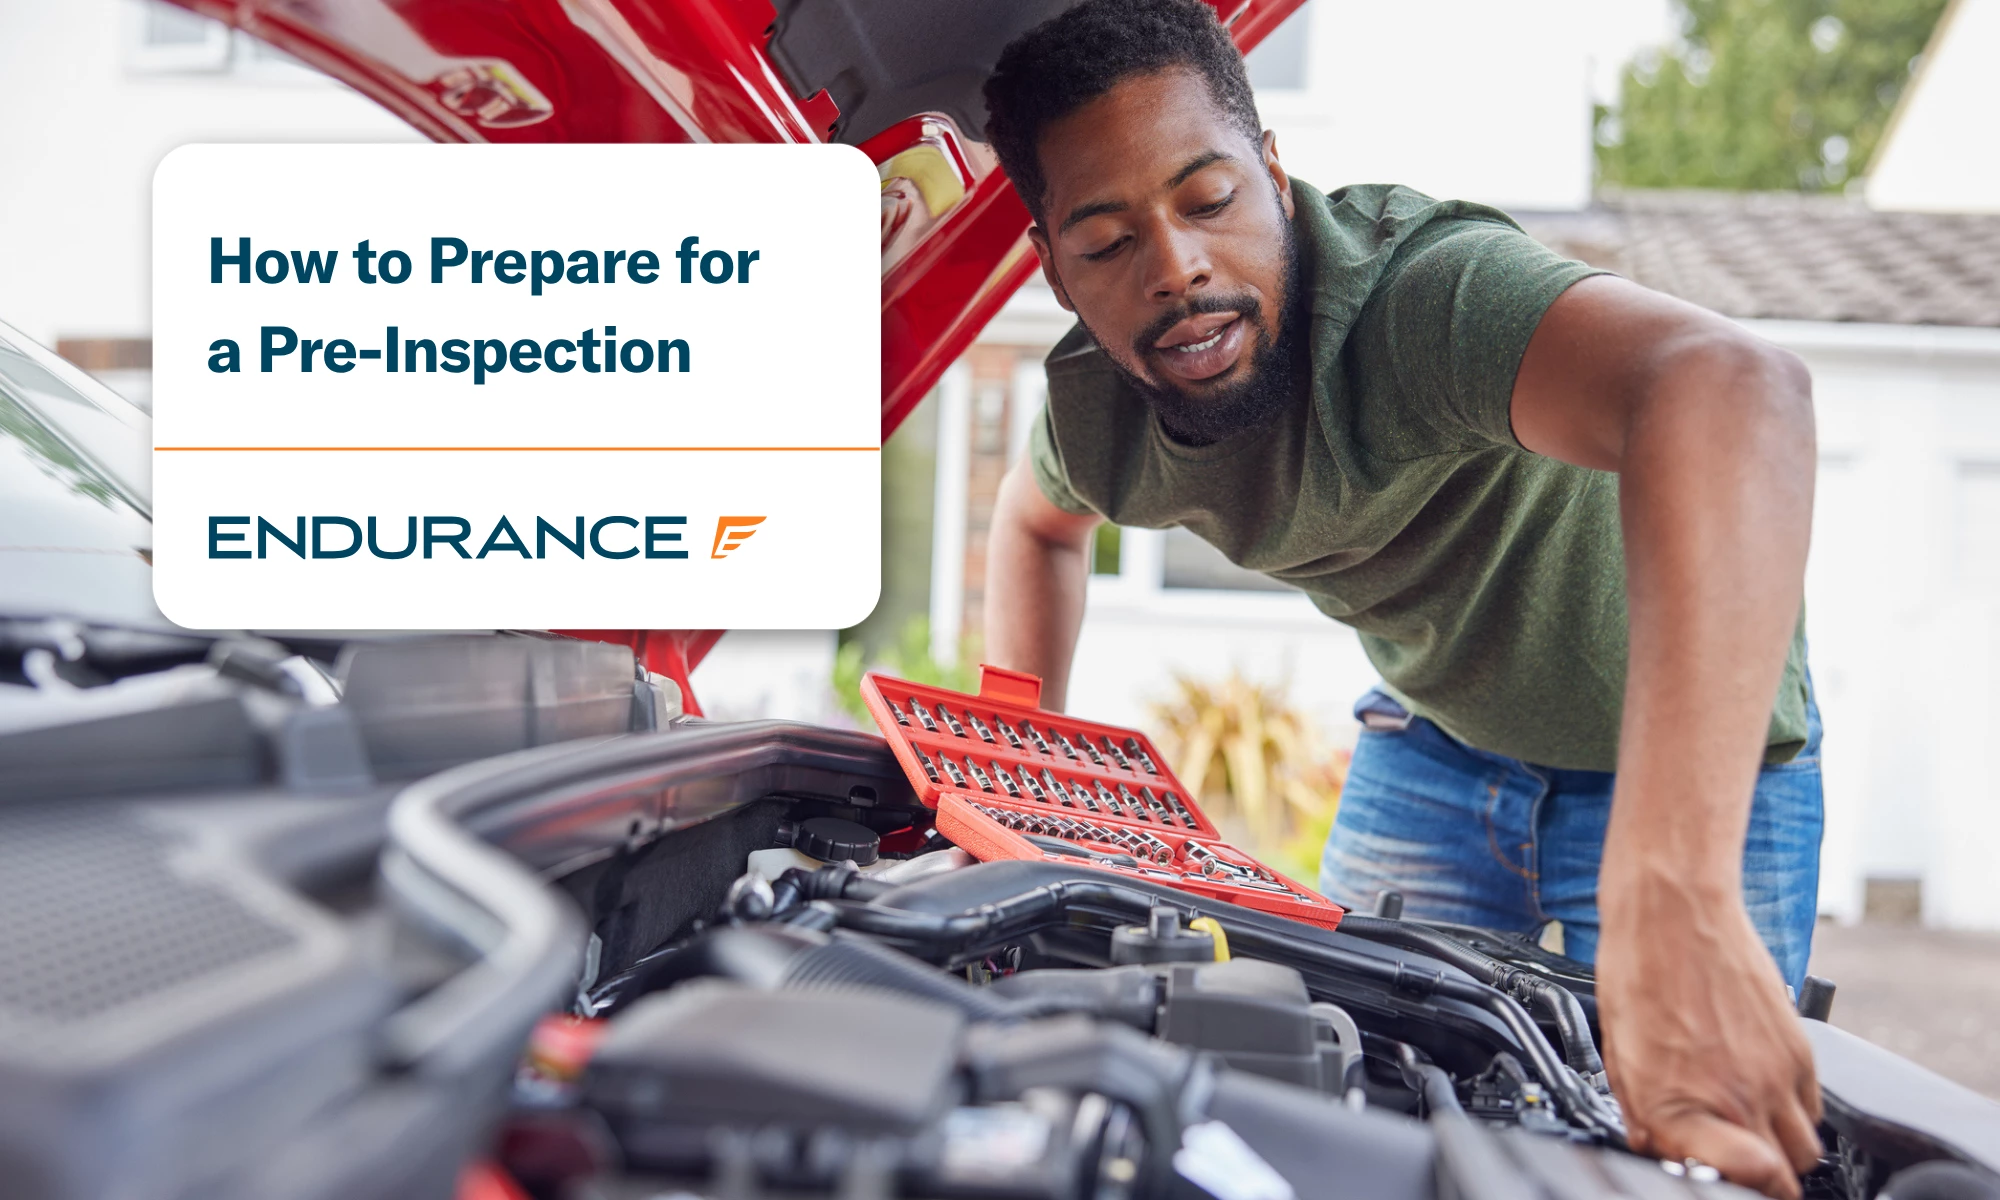
Some extended warranty and vehicle service contract providers require a pre-inspection before coverage begins, particularly for higher-tier plans or older, higher-mileage vehicles. This inspection helps confirm your car’s condition and ensures that pre-existing issues aren’t mistaken for future covered repairs.
Knowing what inspectors look for and how to prepare can help the process go smoothly and prevent unnecessary delays to your coverage start date. Here’s what to expect and how to get your vehicle ready.
Some people may attempt to file claims for issues that existed before coverage began and claim that a pre-existing issue in their high-mileage or used vehicle is “sudden.” To ensure claims align with the actual condition of the vehicle, an auto protection plan provider may send an ASE-certified inspector to assess a vehicle’s condition within the contract’s waiting period.
The inspector will look for signs of wear or “cover-ups” and assess the vehicle’s condition, possibly with a short test drive, before the car warranty waiting period ends. What is an inspector’s greatest concern when going through an extended warranty inspection checklist?
If an inspector sees that your engine bay is spotless, they might think you just power-washed it. Why? Most engines have a thin coating of dust, which can help an inspector spot a leak during a car inspection. If your engine bay is too clean, it can look like you’re trying to hide leaks, corrosion, or poor maintenance. And if the inspector finds evidence of water in hidden spots, your car may not pass the inspection requirements.
Inspectors also check parts for “seepage,” which is a thin layer of oil or mist. If they spot a part with seepage, they might flag it as a pre-existing condition. Why? Seepage can indicate that a part is starting to fail. As a result, your warranty provider might remove that part from your coverage plan or require you to repair it before your contract begins.
Since a fluid leak can signal a bigger problem, inspectors check several areas to make sure fluid levels are full. They look at power steering and brake fluids, the air conditioning system, the transmission, and the engine. Inspectors also look for puddles under your car.
Oily or colored fluid may mean there’s a leak, while clear water could be normal condensation from the A/C. If the inspector finds an active leak, the warranty company may adjust coverage terms or require repairs before coverage begins.
Power washing your engine bay might make the inspector think you’re trying to cover up a problem. But a gentle cleaning can help show that your car is in good condition. First, open the hood and cover any electrical parts. Then follow these simple steps:
If you don’t have a hose, check out the waterless cleaning video by the Chemical Guys for an alternative method. Once your engine bay is dry, continue preparing your vehicle by following a mechanical inspection checklist, including verifying that fluids like coolant, engine oil, and transmission fluid are full.
Coolant, or antifreeze, is very important for your engine’s health, as is a clean air filter. It prevents the engine from overheating by absorbing excess heat and protecting your engine’s parts from freezing or corroding. To check your levels:
If the level is below the “add” or “low” mark, top it off with the coolant type that your car manufacturer recommends in your owner’s manual. However, contact an ASE-certified mechanic if the coolant is colorless, rust-colored, or looks like oil or sludge. It should be red, blue, yellow, or green.
Routine oil changes are an important part of vehicle maintenance. The condition of your oil can show if your car has been neglected or damaged. Here’s how to check your oil:
Your car’s oil should be clear or light amber. However, if it is dark, gritty, or milky, you may need an oil change, have sludge in the engine, or potentially have engine damage. A certified mechanic can help diagnose your issue, change your oil, and give you peace of mind before your inspection appointment.
Your vehicle’s manufacturer will include brake fluid replacement recommendations within your owner’s manual. Typically, drivers are advised to replace brake fluid every 2-3 years. Here’s how to check your levels after your engine is cool:
Fresh brake fluid should be clear or have a greenish-blue or yellowish-orange tint. Low levels or fluid that looks like old motor oil or mud mean it’s time to flush your brakes or get them inspected as soon as possible.
Checking your car’s transmission fluid is an important part of routine maintenance and an extended warranty pre-purchase inspection. Low levels can cause problems with shifting or slipping out of gear. Because different vehicles use different types of fluids, it’s important that you check your owner’s manual for specifics. To inspect your levels:
Your car will likely fail the warranty pre-inspection if its check engine light is on. The inspector will classify this as a pre-existing condition and delay the start of your contract. To avoid this, have a qualified mechanic diagnose and fix any issues with your warning lights before your appointment.
Also, if an inspector discovers incomplete “Ready Monitors,” which are self-diagnostic tests run by your car’s computer to confirm emission control systems are functioning, they will likely issue a “re-inspection.” Clearing these codes before your inspection is a red flag and suggests you might be trying to cover up a costly repair.
Your VSC provider will request several important documents during the application process. These include your car’s mileage, VIN, and proof of recent maintenance (including receipts). Having them ready will help keep your approval time moving.
If you have Endurance, for example, once your contract is active, you can review it at any time in the Endurance Customer Portal. You can also track claims, request a tow, access rental car assistance, and more.
Passing the warranty pre-inspection marks the start of your coverage period and adds financial protection against costly repairs. As soon as your provider gives your car the official stamp of approval, and your waiting period ends, typically after 30 days, you can relax knowing you’re protected.
If your search for auto protection is just beginning, check out all that Endurance Warranty Services has to offer. Visit our online store to see your price and plan recommendations or request a FREE email quote. Our skilled representatives are also available to provide one-on-one assistance by phone at (800) 253-8203.

We've received your vehicle information and will contact you shortly with your quote.
— OR —
Start shopping for a coverage plan now.


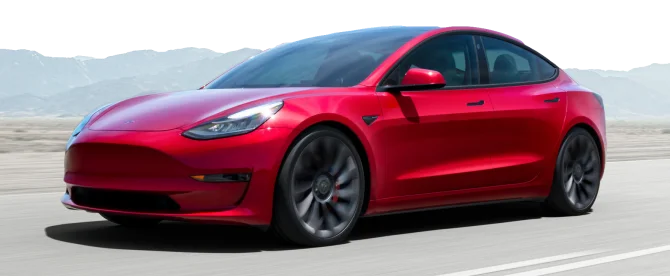
We're here to make sure you get the most comprehensive EV protection. That's why we've partnered with Xcelerate Auto to offer you transparent and dependable Tesla coverage.
Want us to contact you about XCare coverage for your Tesla?

Your protection is our top priority. Your quote is in progress and you will
receive a confirmation
email shortly.

Speak with a vehicle protection plan specialist and get $300 off any new contract instantly.
$300 off + FREE Elite Benefits for 1 year!
By clicking the button, you consent to Endurance using automated technology to call, email, and text you using the contact info above, including your wireless number, if provided, regarding auto protection or, in California, mechanical breakdown insurance. You also agree to the Endurance Privacy Policy and Terms and Conditions. Consent is not a condition of purchase, and you can withdraw consent at any time. Message and data rates may apply.
Speak with a vehicle protection plan specialist and get $300 off any new contract instantly.
Call 866-678-4172
or scan the code below
Simply fill out the information below and we will follow up fast with your free no-obligation quote.
By clicking the button, you consent to Endurance using automated technology to call, email, and text you using the contact info above, including your wireless number, if provided, regarding auto protection or, in California, mechanical breakdown insurance. You also agree to the Endurance Privacy Policy and Terms and Conditions. Consent is not a condition of purchase, and you can withdraw consent at any time. Message and data rates may apply.
To speak to a vehicle protection plan specialist and get $300 off any new contract instantly
Scan the code below


As both an Army Veteran & ASE Certified repair shop owner, Andrew has made educating the modern driver an ongoing mission since the opening of his repair shop, Midwest City Autospa, in 2012. Read more about Andrew.