How to Change Your Car’s Tires
As we welcome the fall months, it’s important to stay up-to-date on your vehicle’s recommended maintenance schedule. You should also be aware of the dangers your wheels or tires may face with the changing temperature.
The leaves have started to fall, and roads are becoming worn out from water and temperature fluctuation. In this environment, your tires may be more likely to get damaged by debris or hidden potholes.
Be proactive and learn how to change a tire in case you get a flat – then you can quickly and easily get your vehicle back on the road. To better prepare, let’s review what elements can damage your tires and how to properly change your car’s tires.
Why Fall Brings Potential Tire Hazards
The fall season brings cooler temperatures, which can affect roadways and trees along the side of the road. Cooler temperatures can cause some roads to start to become brittle or fall apart. This can cause potholes to form, which can easily cause a blowout or damage to your tire. As trees start to lose their leaves, these leaves and small twigs can make some roads hazardous to drive on. Sharp twigs can cause punctures to tires, leaving you with a tire that leaks air.
Colder temperatures can also affect your vehicle’s tire pressure. Also known as PSI, the air pressure in your tires will decrease as the temperature begins to drop. If low enough, you can be left at risk for potential damages or even blowouts.
How to Change a Tire
To ensure that you are prepared if you need a tire change, we will show you the quick and easy steps to safely change a tire.
Step 1: Get Your Car to a Safe/Level Location
The first step you will want to do is to get your vehicle to a safe and level location. You will want to be out of the way of other vehicles and on a level surface. This will allow you to safely lift the vehicle without it rolling forward or backward.
Step 2: Use Your Hazard Lights

Once pulled over and in a safe place, you will want to turn on your hazard lights if you are changing a tire near other drivers. This will indicate that your vehicle is currently disabled, giving other drivers a notice that your vehicle is parked. A reflective warning triangle can also be a necessary item to have, especially in dimly lit areas or in places with heavy traffic. Keeping a reflective vest can also be a great item to have in your vehicle’s emergency kit.
Step 3: Gather All Necessary Tools/Items
After ensuring your safety in steps 1 and 2, your next step should be to gather your owner’s manual (usually found in the glovebox), your spare tire, and your spare tire tools. These usually include a scissor jack and a lug wrench, usually located in the trunk near your vehicle’s spare tire. Your owner’s manual will also provide specific instructions or warnings related to your specific make/model, so it’s always recommended to check that before continuing to the remaining steps.
Step 4: Use Parking Brake/Wheel Chocks
Before you lift your vehicle or remove lug nuts, you must set the parking brake and block the wheels from moving with wheel chocks. You can find your parking brake usually located in the middle of the center console or down under the dash near your pedals. You can check your owner’s manual for the parking brake location if needed. As an added safety feature to keep your vehicle from moving front or back, you can use wheel chocks in the front or rear of your tires. If your vehicle does not have wheel chocks, you can use a block of wood or another large object to wedge under the tires.
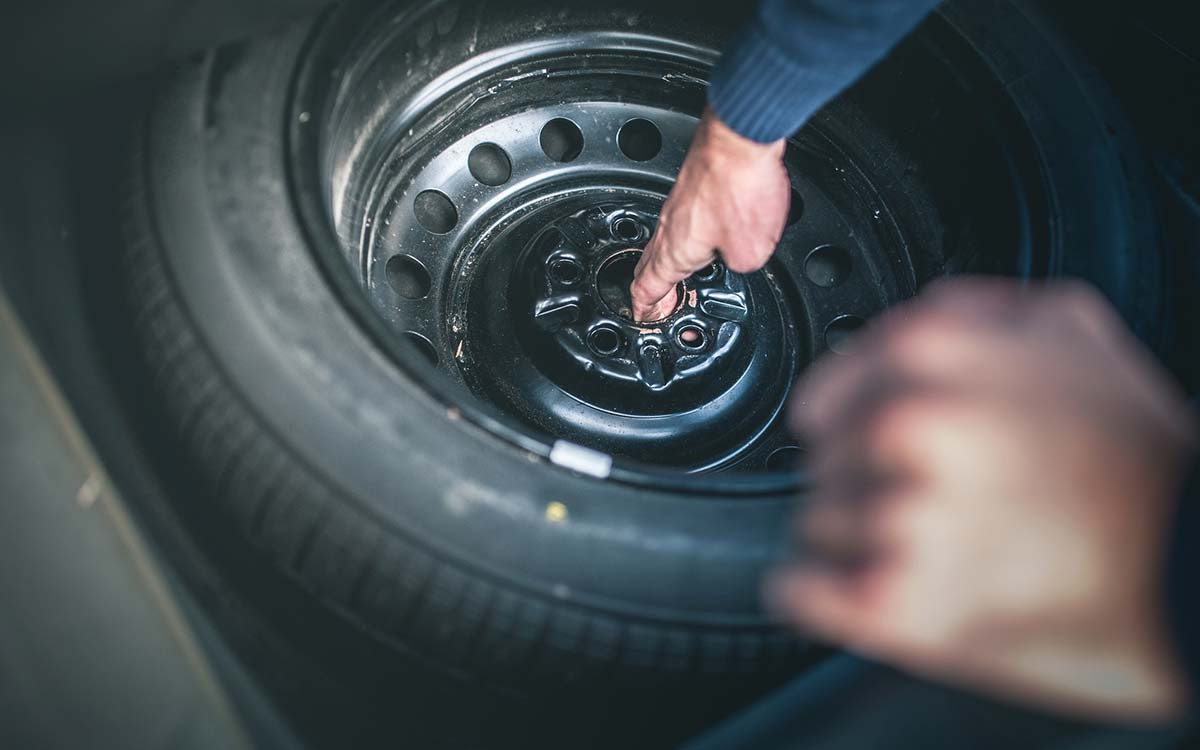
Step 5: Remove Hubcap, If Equipped
If your vehicle’s wheels are equipped with hubcaps, you will need to remove them to access the lug nuts. To remove the hubcaps, locate the screw(s) on the hubcap that keeps it attached to your vehicle’s wheel. It may be under a plastic piece, so be on the lookout for that if you cannot find a screw right away. Once found, unscrew the hubcap and remove it from your vehicle’s wheel.
Step 6: Loosen Lug Nuts

Next, using a lug wrench, you will want to loosen the lug nuts by turning counterclockwise. However, be sure not to completely remove them just yet. It is suggested to loosen them in a star pattern to evenly lessen the load on the wheel and avoid possibly damaging it.
Step 7: Place Jack under Your Vehicle in the Designated Area
Using your owner’s manual, locate the correct position to place your jack. Typically, this is located on the underside of your vehicle, often just behind the wheel. Once you have located the correct area, place the jack in this position and ensure all the above steps are completed.
Step 8: Raise Vehicle & Apply Jack Stand, If Available
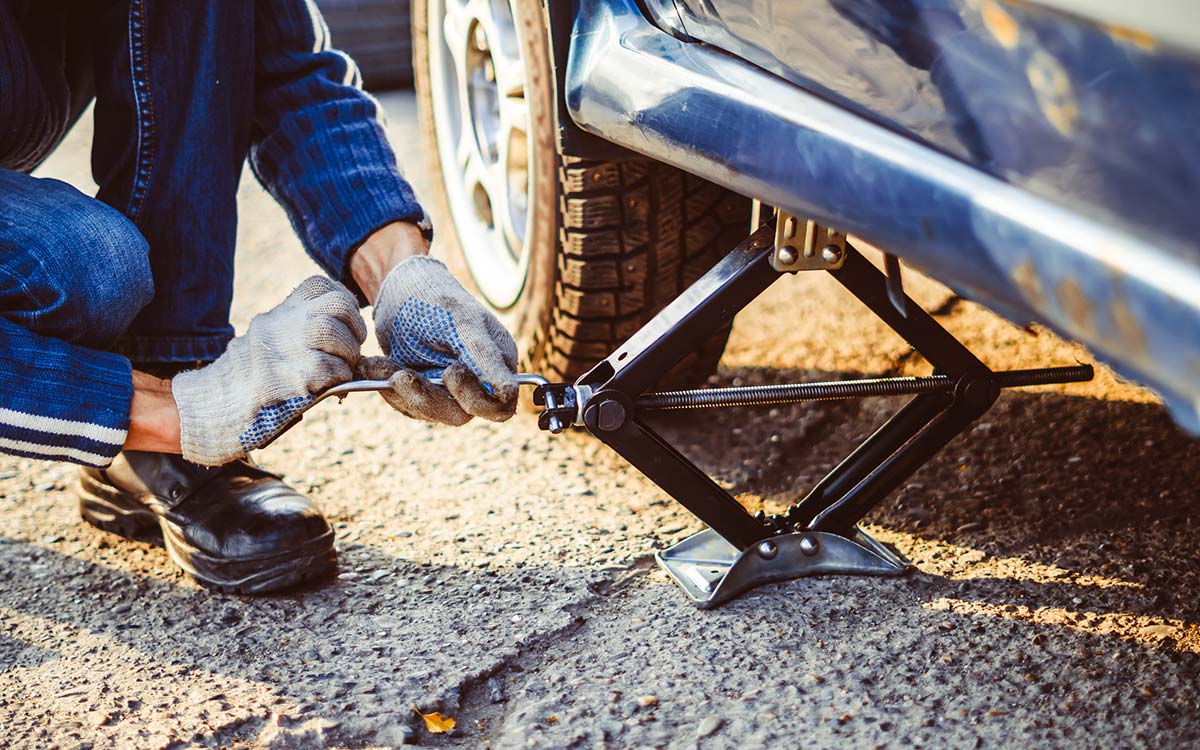
Once your vehicle is secured and the jack is placed correctly, raise the vehicle until the wheel comes off the ground. If you have a jack stand, place it under the vehicle and lower the vehicle onto the jack stand.
Step 9: Completely Remove Lug Nuts
Once the vehicle is raised and secured, you can now completely remove the lug nuts from the wheel using the lug wrench.
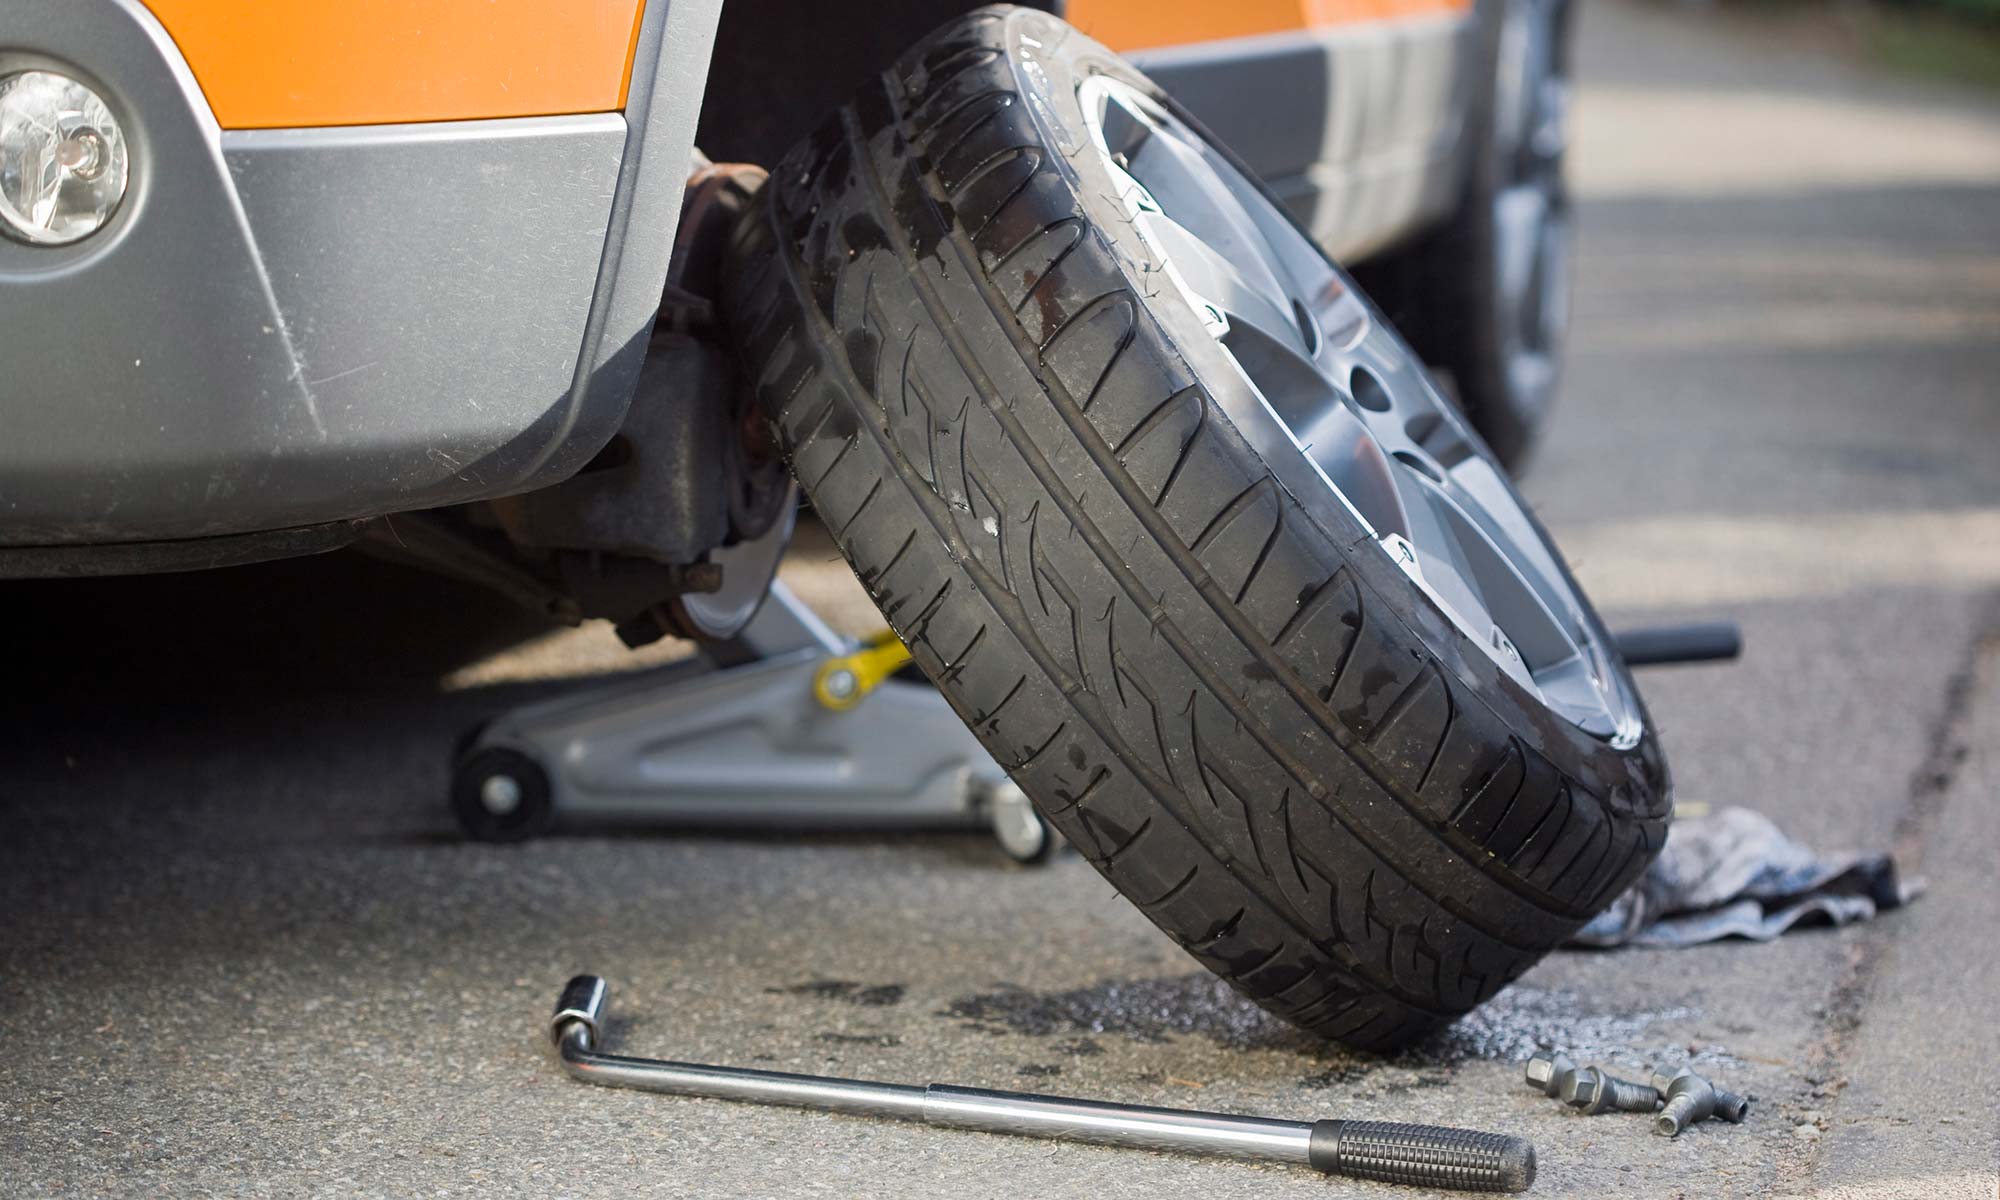
Step 10: Remove Wheel
With the lug nuts removed, you can now remove the wheel from the vehicle. For added safety, you can set the tire under the vehicle’s frame. In the case that the jack fails, the wheel will help keep the vehicle supported.
Step 11: Install New Wheel
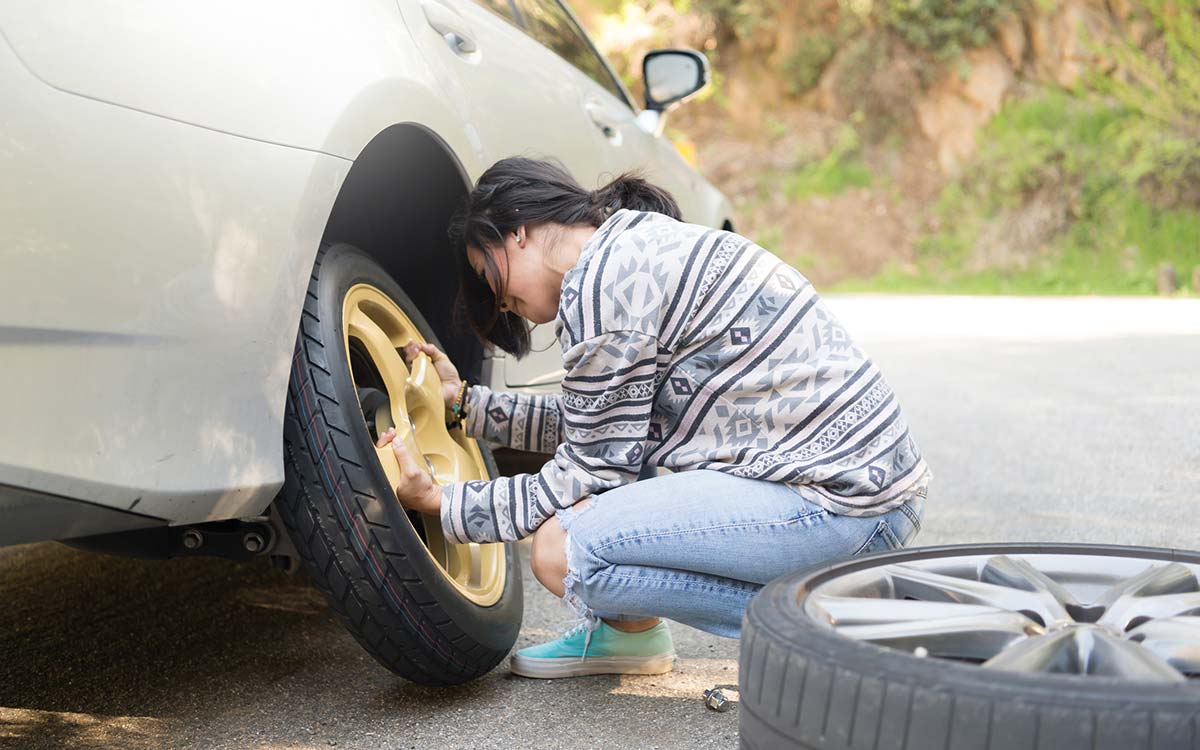
Before fully installing the new tire, check the spare for any damage to the tire or wheel. If it is free of damage, you can install it onto the vehicle.
Step 12: Tighten Lug Nuts By Hand
Tighten the lug nuts by hand as tight as you can. You will not need to tighten them with the lug wrench at this time.
Step 13: Lower Vehicle
With the lug nuts hand-tightened and secured to the vehicle, you can now lower the vehicle to allow the tire to rest on the ground.
Step 14: Tighten Lug Nuts with Wrench
With the vehicle on the ground, you can now tighten your lug nuts down. Using a torque wrench, tighten the lug nuts as much as you can, using a similar star-shaped pattern used when loosening them. A lug wrench can also be used if you do not have a torque wrench.
Step 15: Check Tire Pressure
Finally, once the spare tire has been attached to your vehicle, you will want to check the air pressure on the new tire to ensure it is properly inflated. If the tire is inflated correctly, you are good to go. If the tire needs air, ensure that you drive slowly (10-20 mph) to your nearest gas station or air pump to inflate the tire to the correct PSI. Once properly inflated, we recommend taking your vehicle to the nearest certified repair facility as soon as possible for a complete tire repair or replacement. Continuing to drive on improperly inflated tires can lead to significant and potentially costly damages.
Keep Your Vehicle Safe with Endurance
Keep your tires safe and properly maintained. With a vehicle service contract like our Advantage plan, you can count on complete tire protection. Along with comprehensive breakdown coverage, each Advantage plan comes with up to $3,500 in regular maintenance. That means essential services like tire rotations, alignment checks, and PSI checks are all covered — at no additional cost.
New Endurance customers also receive 1 year of Elite Benefits with the purchase of any vehicle protection plan. Perks include 24/7 roadside assistance and tire repairs/replacements, so you can be confident for the road ahead. A small activation fee applies.
Request a free, no-obligation quote to learn more about any Endurance protection plan. Be sure to also check out the Learning Center for more articles on topics such as DIY maintenance tips, make/model comparisons, and more!


As both an Army Veteran & ASE Certified repair shop owner, Andrew has made educating the modern driver an ongoing mission since the opening of his repair shop, Midwest City Autospa, in 2012. Read more about Andrew.