Get this deal! Call now.
Speak with a vehicle protection plan specialist and get $300 off any new contract instantly.
Call 866-678-4172
or scan the code below
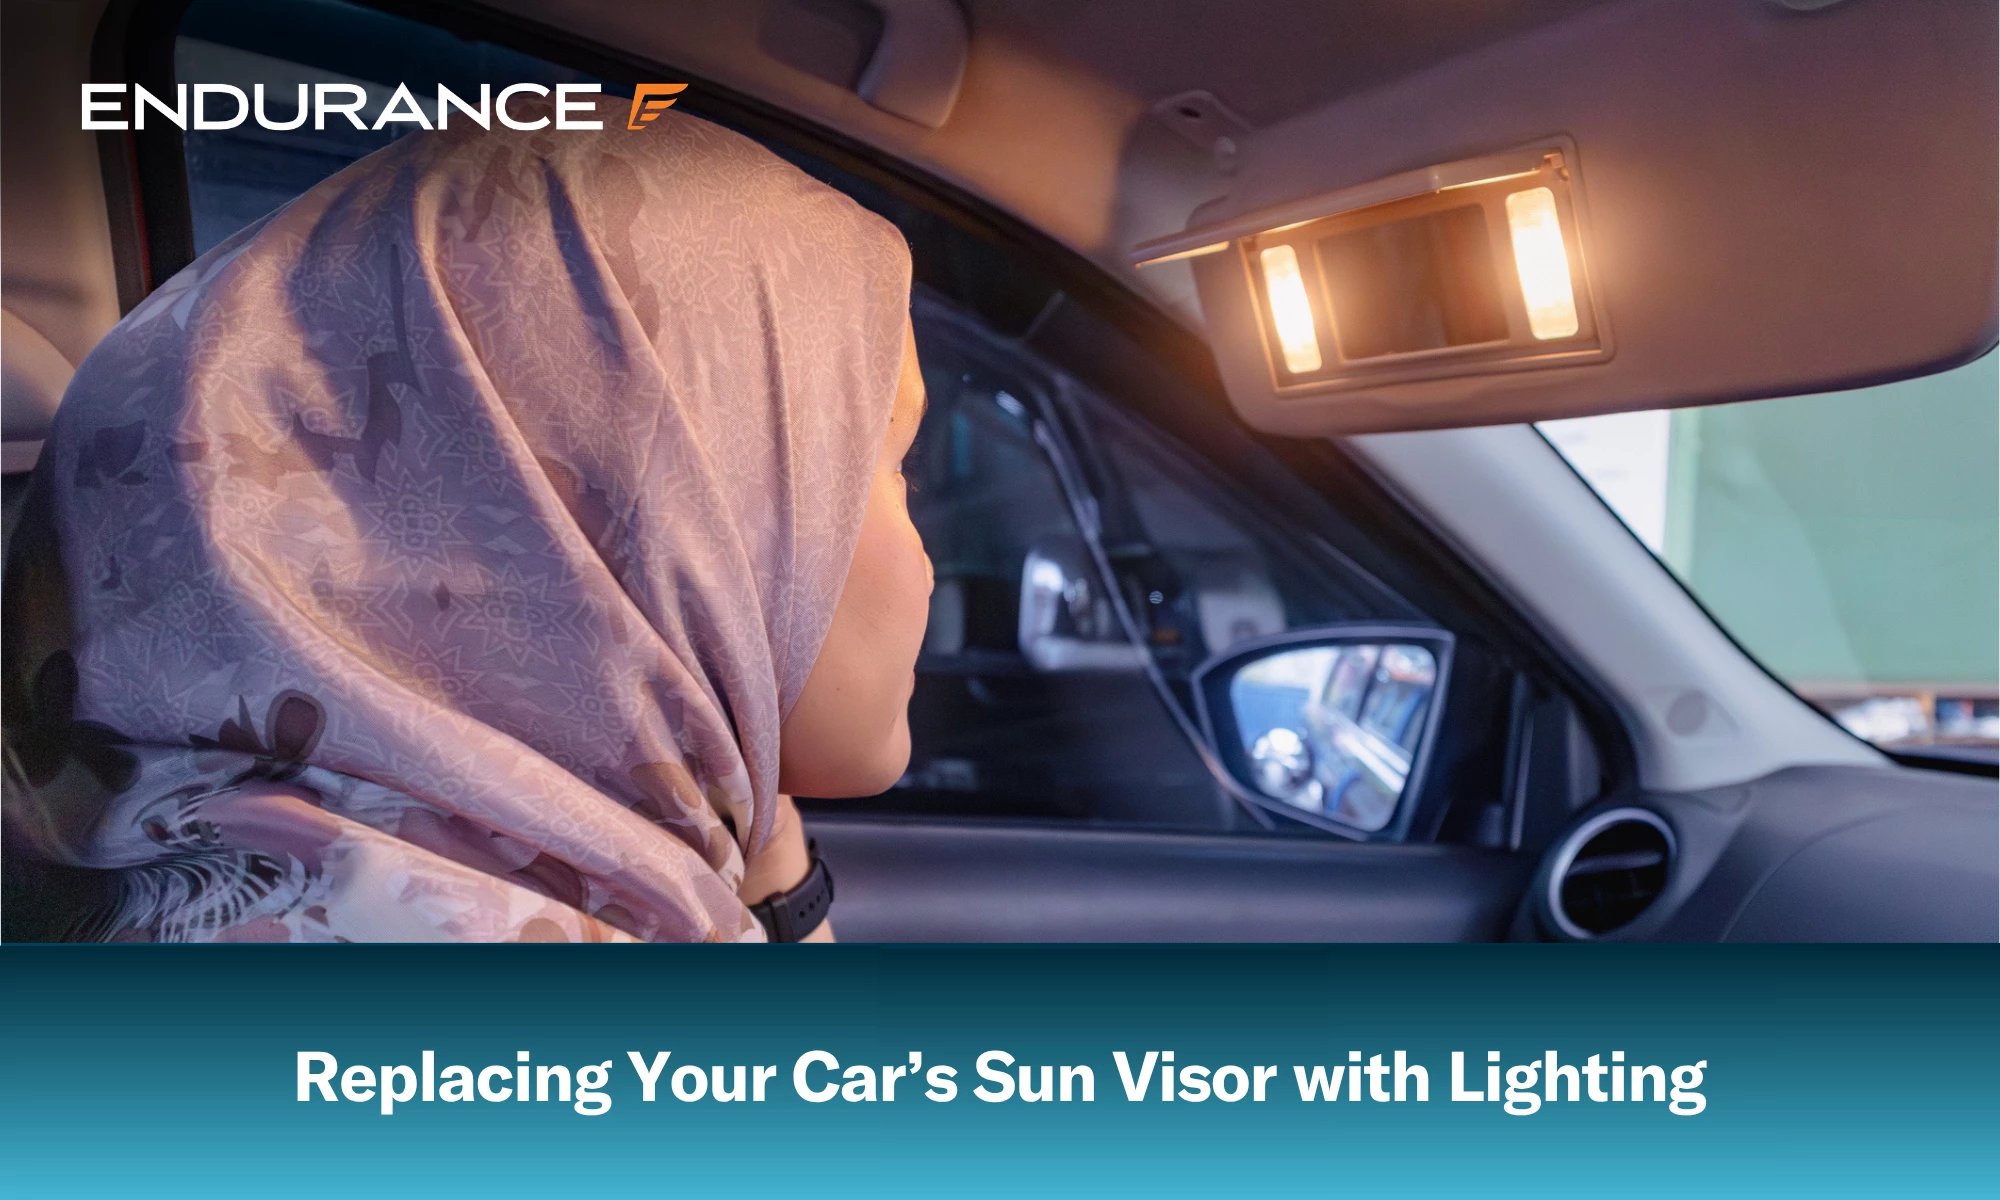
Replacing a sun visor doesn’t have to cost hundreds of dollars. With universal clip-on visor mirrors featuring built-in LED lighting available on Amazon for under $50, drivers can skip the dealership markup and easily upgrade their car’s interior. These affordable solutions not only solve a common maintenance problem. They enhance your driving experience with better lighting, aesthetics, and convenience. All with a DIY-friendly install that requires no tools or wiring.
If you’ve ever had to replace a car sun visor, you might already know that a tiny, seemingly simple component can come with a shockingly high price tag. A viral TikTok video showed a driver had been quoted a jaw-dropping $500 to replace a sun visor at a dealership. That same driver turned to Amazon and solved the problem for under $50, even adding lighting in the process. So how is it possible—and how can you do it yourself?
In this guide, we’ll explore how to replace a sun visor on a budget, what options are available online, and why this TikTok hack gained so much traction.
Sun visors are often considered minor parts in a vehicle’s interior, but the cost of replacing them through a dealership can be surprisingly high. Why?
The $500 quote shown in the viral TikTok story wasn’t for a high-end luxury car—it was a standard vehicle. And that’s part of why the clip resonated with so many drivers.
Instead of paying hundreds at a dealership, the TikTok user found a clever workaround: a lighted sun visor mirror from Amazon, costing less than $50. Not only did it solve the problem, but it also improved the functionality with an LED-lit mirror.
This story struck a chord with thousands of viewers who were equally fed up with overpriced dealership quotes for small repairs. In just a few days, the video racked up hundreds of thousands of views, shares, and likes—and sparked a surge in searches for DIY car visor replacement and cheap sun visor fix options.
If your car’s built-in sun visor is damaged, faded, or overpriced to replace through a dealership, here are some examples of budget-friendly OEM-style replacements available online for under $50. Some even include vanity lights:
Dasbecan Front Left Driver Sun Visor with Vanity Light
NHILES Left Driver Side Sun Visor
NHILES Driver Left Side Sun Visor Replacement with Vanity Light
Installing a replacement sun visor is a simple task that most vehicle owners can handle with basic tools and minimal effort. Start by gently prying off any plastic covers or trim pieces that conceal the visor’s mounting bracket (these typically snap off with light pressure). Next, use a screwdriver to remove the screws securing the old visor in place. Be sure to support the visor as you remove the last screw to prevent it from falling or damaging the headliner.
Once removed, align the new visor’s mounting bracket with the factory holes. Most aftermarket replacements are designed to match OEM specs, so the fit should be seamless. Insert and tighten the screws until the visor is firmly in place.
If your new visor includes a vanity light, locate the small wiring harness in the headliner (usually tucked beside the mount) and connect it to the visor’s plug. These plug-and-play setups use your car’s existing electrical system.
Finally, fold the visor down, test the mirror light if there is one, and ensure everything is securely attached and functioning properly.
Adding LED lighting to your visor is more than a cosmetic touch. It can enhance your driving experience:
And because the cost is so low, it’s something almost any driver can afford.
The DIY sun visor is just one of many TikTok-inspired car repair hacks that can save drivers hundreds of dollars. Here are a few more worth checking out:
These upgrades are low-cost, easy to install, and help make your car more comfortable and efficient.
While DIY solutions are great for small upgrades like sun visors or interior lighting, there are limits to what you should tackle on your own. Here’s a quick rule of thumb:
DIY-friendly tasks:
Call a mechanic for:
If you’re ever unsure, consult your vehicle’s manual or speak to a licensed technician before you do anything. Components accidentally damaged during DIY work may not be covered under your car’s warranty and or aftermarket coverage.
Even when a smart DIY fix like installing a sun visor mirror solves a minor problem, more significant car troubles can still crop up unexpectedly. A vehicle service contract, also called an extended warranty, from Endurance, can help cover certain high-cost repairs to critical systems such as the engine, transmission, air conditioning, and even complex electrical components.
Endurance plans also include additional benefits, such as 24/7 roadside assistance for breakdowns, reimbursement for rental cars during covered repairs, and support for trip interruptions when issues arise far from home. Plus, you gain access to a wide range of licensed repair facilities nationwide, ensuring professional service no matter where you are.
In addition to financial protection, our award-winning customer service team is always on hand to answer any questions, including which fixes you can tackle safely on your own and which are best handled by professionals.
Replacing a sun visor doesn’t need to cost hundreds of dollars. Thanks to DIY-friendly products and creative car owners sharing solutions online, you can fix minor car issues like this for a fraction of the price—sometimes even enhancing your vehicle in the process.
The lighted visor hack proves that a little research, a few clicks, and some smart shopping can make all the difference. Whether you’re saving money or improving your daily drive, this small change delivers big benefits. And with the right knowledge (plus auto protection from Endurance), you can keep your car in top running condition for plenty of journeys to come.
If you’d like to find out more about the range of Endurance plans and which might be right for your circumstances and budget, get in touch with one of our reps at (800) 253-8203 or request a FREE quote online. You can also shop our eStore to see plan recommendations and pricing right away.
For other helpful articles on DIY car hacks, maintenance tips, and more, pay a visit to our extended warranty blog.
We've received your vehicle information and will contact you shortly with your quote.
— OR —
Start shopping for a coverage plan now.


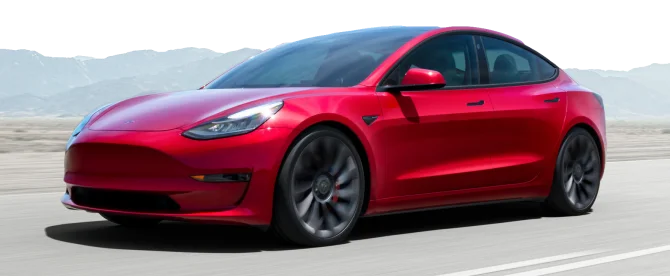
We're here to make sure you get the most comprehensive EV protection. That's why we've partnered with Xcelerate Auto to offer you transparent and dependable Tesla coverage.
Want us to contact you about XCare coverage for your Tesla?

Your protection is our top priority. Your quote is in progress and you will
receive a confirmation
email shortly.

Speak with a vehicle protection plan specialist and get $300 off any new contract instantly.
$300 off + FREE Elite Benefits for 1 year!
By clicking the button, you consent to Endurance using automated technology to call, email, and text you using the contact info above, including your wireless number, if provided, regarding auto protection or, in California, mechanical breakdown insurance. You also agree to the Endurance Privacy Policy and Terms and Conditions. Consent is not a condition of purchase, and you can withdraw consent at any time. Message and data rates may apply.
Speak with a vehicle protection plan specialist and get $300 off any new contract instantly.
Call 866-678-4172
or scan the code below

Simply fill out the information below and we will follow up fast with your free no-obligation quote.
By clicking the button, you consent to Endurance using automated technology to call, email, and text you using the contact info above, including your wireless number, if provided, regarding auto protection or, in California, mechanical breakdown insurance. You also agree to the Endurance Privacy Policy and Terms and Conditions. Consent is not a condition of purchase, and you can withdraw consent at any time. Message and data rates may apply.
To speak to a vehicle protection plan specialist and get $300 off any new contract instantly
Scan the code below


Chris has been covering the automotive industry and topics ranging from road trips to driverless car technology for around 10 years. His own preference is for retro 4x4s that will stand up to a muddy field in the country.